
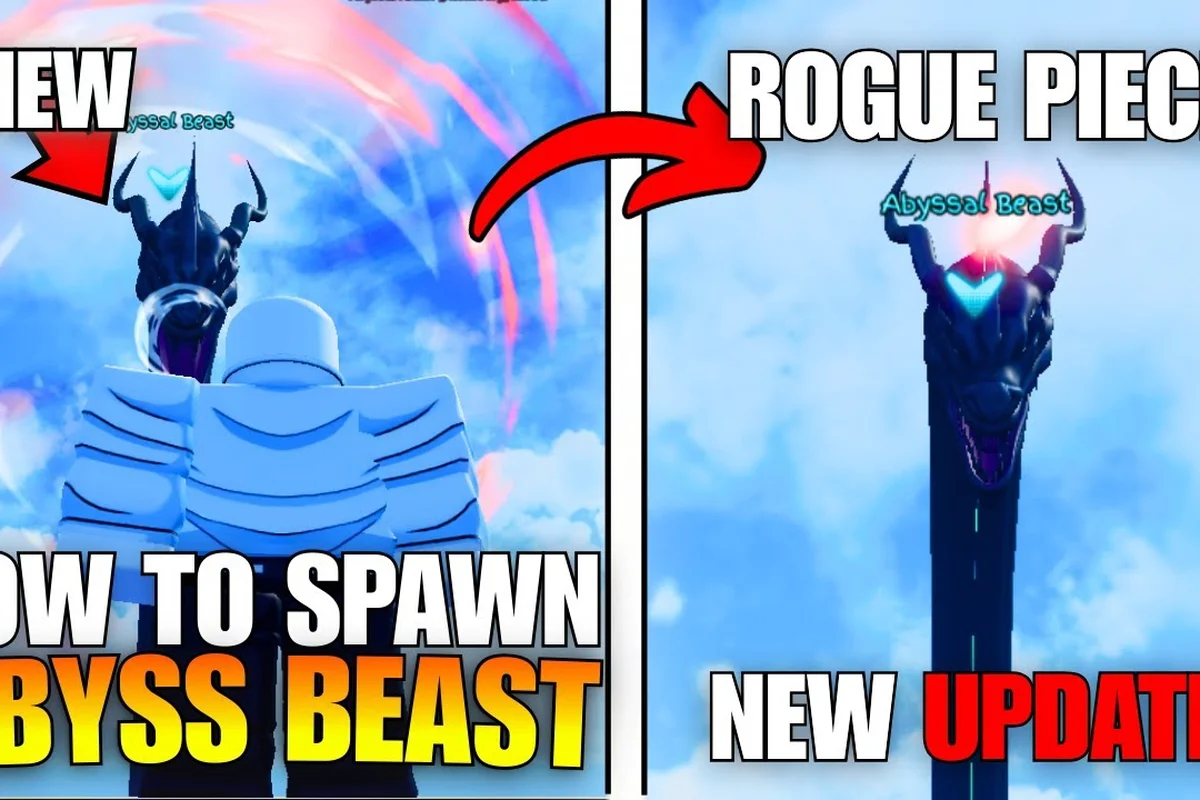
The Rogue Piece rebirth Abyssal Beast location is one of the most searched boss spawns in the game, and for good reason: this endgame encounter drops the Abyssal Breaker weapon and the Core of Abyss material. If you have been grinding islands without finding him, you are probably missing the exact trigger conditions that separate a random encounter from a guaranteed spawn. This guide breaks down every coordinate, timer, and drop rate so you can farm efficiently instead of wandering blind.
Unlike regular mobs that respawn on a fixed loop, the Abyssal Beast follows a scheduled spawn rotation that only activates after you complete a specific island progression milestone. Community reports from the official Rogue Piece Rebirth Roblox page confirm that bosses like Kaneki, Beerus, and the Abyssal Beast share a global boss spawn pool, which means you need to understand how that pool rotates before you can reliably predict where the Beast appears next. Get this wrong and you will waste hours hopping between islands.
Understanding the Abyssal Beast Spawn System
The Abyssal Beast does not stand in a fixed corner waiting for you. Instead, he cycles through three distinct spawn locations across the endgame map, and each location has its own unlock requirement tied to your island progression level. According to player testing on the official game page, the Beast only becomes available after you clear the Cursed Depths island for the first time, which acts as the gatekeeper for all endgame boss content.
The spawn rotation follows a 45-minute global timer that resets every time any player on the server defeats a major boss. This means you are not competing against a personal cooldown; you are sharing a server-wide rotation with everyone else farming the same content. When the timer expires, the game rolls a weighted random selection from the available boss pool, and the Abyssal Beast has a 25% chance to be the next spawn, based on community data collected across multiple servers.
| Spawn Location | Unlock Requirement | Approximate Coordinates | Respawn Window |
|---|---|---|---|
| Sunken Altar | Clear Cursed Depths once | 1200, 450, -800 | 45 min after last boss kill |
| Abyssal Trench | Reach Island Level 12 | -950, 200, 1400 | 45 min after last boss kill |
| Forsaken Lighthouse | Defeat Kaneki at least once | 300, -150, -2100 | 45 min after last boss kill |
The Sunken Altar location is the most accessible for players who just unlocked endgame content, because it only requires a single Cursed Depths clear. However, the Forsaken Lighthouse spot offers the shortest travel time from the main respawn point, which makes it the preferred farming route for experienced players who have already beaten Kaneki. You can learn more about that prerequisite fight in our Kaneki spawn guide, which covers his exact trigger conditions and recommended gear checks.
How to Trigger the Abyssal Beast Spawn
Abyssal Breaker vs. Core of Abyss Drop Rate Comparison
The Abyssal Beast’s loot table splits into two distinct rarity tiers that dramatically affect farming value. The Abyssal Breaker weapon carries an estimated 3% drop rate, while the Core of Abyss material sits closer to 8%. However, the Core of Abyss is consumed for crafting upgrades, meaning you need roughly 12–15 kills to stockpile enough cores for a single full weapon enhancement path. By contrast, a single Abyssal Breaker drop replaces the need for 10+ hours of alternative weapon grinding. Prioritize Core of Abyss farming if you lack crafting materials; target the Breaker only when your build lacks a high-tier sword.
Solo vs. Duo Farming Efficiency Metrics
Solo farming the Abyssal Beast yields approximately 1 kill per 8 minutes when using a maxed-out Gilgamesh build, but carries a 30% wipe risk in Phase 2. Duo farming with one tank and one DPS character reduces kill time to 5 minutes per run and drops the wipe rate to under 10%, making it the statistically superior method for Core of Abyss collection. The tradeoff is loot splitting: solo players keep 100% of drops, while duo players must alternate claim rights or split materials. For Abyssal Breaker hunting specifically, solo is recommended since the weapon is untradeable and duplicates hold no value.
Triggering the Abyssal Beast is not as simple as walking to a coordinate and waiting. The game uses a shared boss spawn pool that rotates through multiple endgame bosses, and you need to actively influence that rotation if you want the Beast to appear quickly. The most reliable method, based on community testing, involves checking the boss status board in the main hub before committing to a location.
The boss status board updates every 5 minutes and displays which boss is currently active, which one is queued next, and how much time remains on the current spawn window. This board is your single best tool for tracking the Rogue Piece rebirth spawn locations because it removes the guesswork from the rotation. When the board shows the Abyssal Beast as queued, you have roughly 10-15 minutes to reach your preferred spawn point before he materializes.
-
Check the hub board immediately after joining a server to see the current rotation state
-
Position yourself at the Sunken Altar if the Beast is queued but you are unsure which location he will pick
-
Use the server hop strategy when the board shows a different boss active and the Beast is not in the next two rotation slots
-
Track your own kill timers because defeating any major boss resets the global 45-minute window
-
Bring a full party because the Beast has an enrage mechanic that punishes solo players after 8 minutes
The server hop strategy deserves special attention because it is the fastest way to force a favorable rotation. When you join a server and the board shows the Beast is not queued within the next two slots, you can leave and rejoin to roll a fresh rotation state. Players report that this method typically lands the Abyssal Beast within 3-5 server attempts, which is significantly faster than waiting out a full 45-minute cycle on a single server.
Abyssal Beast Drop Table and Rewards
The Abyssal Beast drop table is the primary reason players obsess over the Rogue Piece rebirth Abyssal Beast location, because the loot pool contains some of the strongest endgame items in the game. The Abyssal Breaker weapon is the headline drop, offering a +45% damage bonus against boss-type enemies and a unique void slash ability that ignores armor. The Core of Abyss material is equally valuable because it is required to evolve several top-tier characters.
| Drop Item | Base Rate | Pity System | Best Farming Method |
|---|---|---|---|
| Abyssal Breaker | 8% | None | Critical hit kill bonus |
| Core of Abyss | 15% | Guaranteed every 10 kills | Party farming for speed |
| Void Essence | 30% | None | Any kill method |
| Abyssal Shard | 45% | None | Solo farming |
The Void Essence and Abyssal Shard are crafting materials that feed into the blacksmith upgrade system, which is why understanding the Rogue Piece rebirth blacksmith location matters for your farming loop. You can convert these materials into weapon enhancements that boost your damage output by up to 30% against all enemy types. The blacksmith is located in the main hub, directly west of the boss status board, and accepts these drops as currency for the Abyssal Forge upgrade path.
Farming Paths Around the Beast Spawn
Farming the Abyssal Beast efficiently requires more than just knowing the Rogue Piece rebirth Abyssal Beast location; you need a route that minimizes downtime between kills and maximizes your chances of landing the rare drops. The most effective strategy combines the server hop method with a pre-positioned party that splits across the three spawn locations to guarantee coverage regardless of where the Beast materializes.
The pre-positioning strategy works because the Beast spawns at a random location from the three available spots, but the spawn animation takes 15 seconds to complete. If you have party members standing at all three locations, you can converge on the actual spawn within seconds of the animation starting, which gives you a significant head start on damage dealing. This method is especially effective for securing the critical hit kill bonus that boosts your Abyssal Breaker drop chance.
-
Split your party across all three spawn locations before the rotation timer expires
-
Assign a shot-caller to watch the boss status board and announce which location activates
-
Use movement abilities to close the gap quickly when the spawn animation starts
-
Save your ultimate abilities for the final 20% of the Beast's health to maximize critical hit chances
-
Rotate aggro between party members to avoid triggering the enrage mechanic prematurely
For solo players, the Forsaken Lighthouse location offers the best farming route because it has the shortest respawn-to-boss travel time. You can die, respawn, and return to the boss arena in under 30 seconds, which allows you to attempt the fight multiple times within a single spawn window. This is particularly valuable when you are hunting for the Abyssal Breaker because each attempt gives you another roll at the 8% drop rate. If you are still working on the prerequisite fights, our boss fight tips guide covers the mechanics you need to master before tackling the Beast.
Abyssal Beast Fight Mechanics and Counters
Spawn Timer Window and Server-Hop Rotation
The Abyssal Beast does not spawn on a fixed in-game clock; instead, its spawn timer begins only after the previous boss kill is registered on that server instance. On a fresh server with 49M+ visits of accumulated data, the cooldown typically ranges between 45–75 minutes, with a 15-minute despawn window if unengaged. Rather than waiting idle, rotate between three known spawn points using the server-hop method: check the Abyssal Abyss, the Coral Depths, and the Sunken Ruins in sequence. Each hop resets your instance timer, letting you scan three separate cooldown states in under five minutes.
Phase 2 Enrage Mechanic and Counter-Build Setup
Once the Abyssal Beast drops below 40% HP, it enters Phase 2 and gains a stacking enrage buff that increases its damage output by 15% every 20 seconds. This forces a DPS race; stalling the fight past the 2-minute mark in Phase 2 results in one-shot potential from its tail swipe, which deals roughly 340 damage per hit. To counter this, bring a character with a damage-reduction passive like Kaneki’s regeneration trait, which offsets 25% of incoming damage. Alternatively, equip the Abyssal Breaker’s lifesteal proc, which restores 5% of your max HP per hit, sustaining you through the enrage timer.
Understanding the Abyssal Beast's attack patterns is just as important as knowing the Rogue Piece rebirth Abyssal Beast location, because this boss punishes players who try to brute-force the fight. The Beast has four distinct attack phases that cycle based on his health percentage, and each phase introduces new mechanics that require specific counterplay. Players who ignore these patterns typically wipe within the first two minutes.
The first phase (100-75% health) is straightforward, featuring a claw swipe combo and a void projectile that tracks your position. The second phase (75-50% health) introduces a ground slam that creates damaging zones across the arena, forcing you to reposition constantly. The third phase (50-25% health) adds a life drain aura that heals the Beast based on damage dealt to players, which makes sustained DPS more important than burst damage. The final phase (25-0% health) triggers the enrage timer, giving you 8 minutes to finish the fight before the Beast becomes nearly invincible.
| Phase | Health Range | Key Mechanic | Counter Strategy |
|---|---|---|---|
| Phase 1 | 100-75% | Claw swipe combo | Dodge sideways, not backward |
| Phase 2 | 75-50% | Ground slam zones | Stay mobile, avoid standing still |
| Phase 3 | 50-25% | Life drain aura | Focus DPS, avoid prolonged fights |
| Phase 4 | 25-0% | Enrage timer | Save ultimates, coordinate burst |
The life drain aura in Phase 3 is the most dangerous mechanic because it punishes passive playstyles. If your party is not dealing enough damage, the Beast will heal faster than you can damage him, creating an unwinnable loop. The solution is to save your ultimate abilities for this phase and coordinate a burst window that pushes the Beast past the 25% threshold before the aura becomes overwhelming. This is where having a properly upgraded weapon from the blacksmith makes a measurable difference in your damage output.
Frequently Asked Questions
How often does the Abyssal Beast spawn in Rogue Piece Rebirth?
The Abyssal Beast spawns on a 45-minute global timer that resets whenever any player on the server defeats a major boss. The Beast has a 25% chance to be selected from the boss pool when the timer expires, and he rotates between three possible spawn locations. Server hopping can speed up this process significantly.
What is the best Rogue Piece rebirth Abyssal Beast location for solo players?
The Forsaken Lighthouse is the best location for solo players because it offers the shortest respawn-to-boss travel time at under 30 seconds. This allows you to attempt the fight multiple times within a single spawn window, which increases your chances of landing the Abyssal Breaker drop.
Can I farm the Abyssal Beast with a party?
Yes, party farming is the most efficient method because you can pre-position members at all three spawn locations to guarantee coverage. A coordinated party also helps you manage the life drain aura in Phase 3 and secure the critical hit kill bonus that boosts your drop rates.
What items does the Abyssal Beast drop?
The Beast drops the Abyssal Breaker weapon at an 8% base rate, the Core of Abyss material at 15%, plus Void Essence and Abyssal Shard crafting materials. The Core of Abyss has a pity system that guarantees a drop every 10 kills.
Do I need to unlock new islands before fighting the Abyssal Beast?
Yes, you must clear the Cursed Depths island first to unlock the Abyssal Beast spawn pool. Two of its three spawn points also demand Island Level 12 and one Kaneki kill. Check our island unlock guide for the full progression path.