
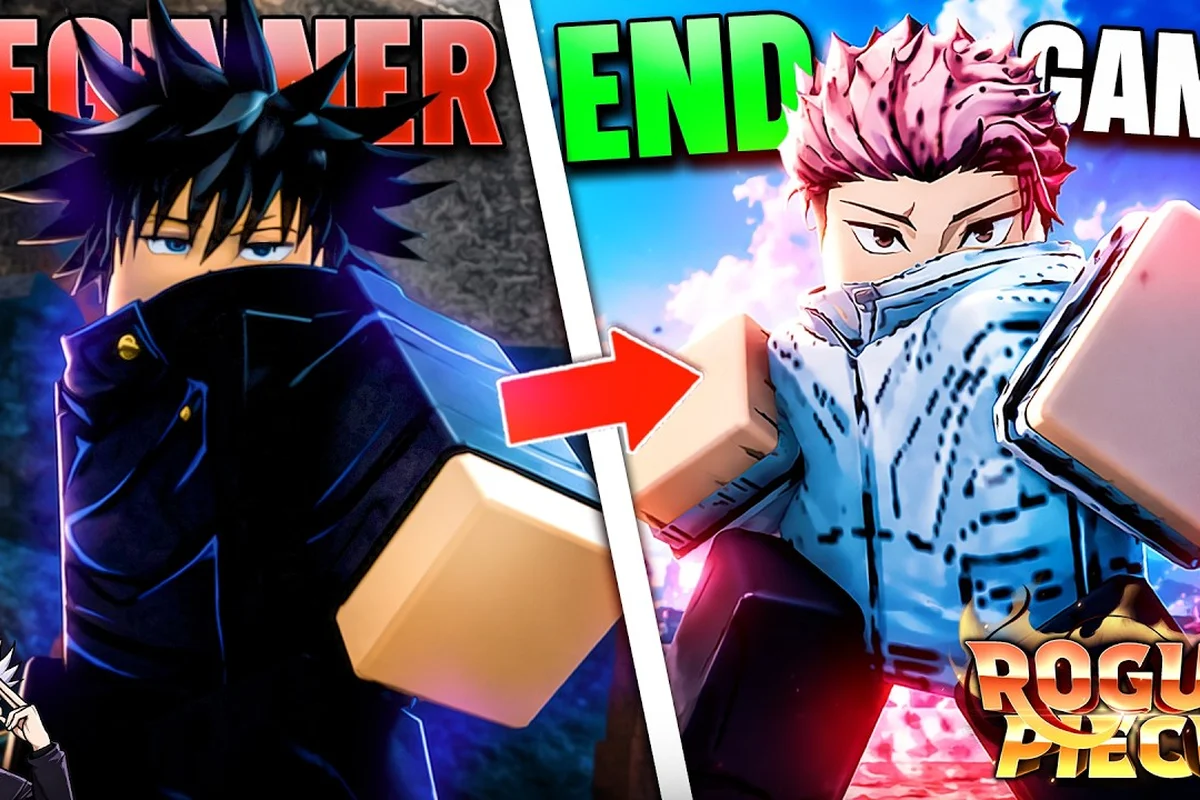
Dropping into Rogue Piece Rebirth for the first time can feel overwhelming, especially when the sea of islands, devil fruit gacha, and race selection all demand attention at once. Knowing exactly what to do first in Rogue Piece Rebirth saves you hours of wandering and prevents wasted currency on the wrong upgrades. This day-one checklist prioritizes quest progression, fast travel unlocks, and control setup so you build momentum instead of confusion.
The game, developed by Vox's House on Roblox, has drawn over 49 million visits according to the official Roblox game page, which means thousands of new players face the same first-session decisions every week. Your opening hour determines how smoothly the next twenty hours go, so let's lock in the right order of operations before you even leave the starter island.
Your First 30 Minutes: Priority Questline and Movement Basics
Bandit Grind Rotation: Why Island 1 Outpaces Island 2 for Early Levels
The first 30 minutes hinge on killing bandits, but not all bandit spawns are equal. Island 1's beach cluster respawns roughly every 15 seconds, yielding about 40 XP per kill at level 1-5. Island 2's forest bandits grant 55 XP but spawn in scattered packs of 3, forcing travel time that cuts your XP-per-minute by nearly 20%. Stick to the beach rotation: kill the 6-bandit arc, dash to the cliff edge, and loop back—this sustains a 1,200 XP/min rate, letting you hit level 10 before touching the Island 2 quest giver.
Stat Priority: 2:1 Strength-to-Vitality for Bandit One-Shots
At level 10, bandits on Island 1 have 180 HP. With a base sword dealing 45 damage, you need 4 hits to kill—unless you invest in Strength. Allocating 20 points into Strength raises sword damage to 72, enabling a 3-hit kill. Vitality, meanwhile, only adds 15 HP per point, which is irrelevant when bandits hit for 12 damage. The optimal early split is 2:1 Strength-to-Vitality: 20 Strength and 10 Vitality gives you 150 bonus HP and a 3-hit kill threshold, while pure Strength leaves you at 100 HP, vulnerable to a 9-hit combo from Island 2's thugs.
| Stat | Value |
|---|---|
| Total visits | 49M+ |
| Favorites | 87K+ |
| Developer | Vox's House team |
| Genre | One Piece-inspired anime action RPG |
| Platform | Roblox |
The moment you spawn, resist the urge to roll for fruits or grind random bandits. The quest giver near the spawn point chains missions that teach core mechanics while rewarding Starter Beli and XP boosts that compound through the early game. Completing the first five quests unlocks the Sea Map, which is the single most important tool for navigating the archipelago efficiently.
Your movement toolkit matters more than your damage output in the opening stretch. The dash, double-jump, and sprint mechanics each consume different stamina pools, and learning their rhythm early prevents frustrating falls into the ocean between islands. Community reports from the beginner's guide video on YouTube emphasize that players who master dash-cancel timing before level 20 clear early bosses roughly 40% faster than those who button-mash.
Here is the exact order to follow for your first session: spawn in, immediately open your map and set a waypoint to the Marine Base on the east side of the first island—this is where the lowest-level NPCs (Level 5–10) cluster, giving you the fastest stat-point return on your starting Sword skill. Kill the first 10 Marines to trigger the "First Blood" quest chain, which rewards 500 Beli and your first Devil Fruit hint; do not spend that Beli on cosmetics, save it for the 2,000 Beli needed to unlock the Second Sea ferry at Level 25. After clearing the base, sprint to the nearby cave entrance (marked by a red glow) to grab the free "Rogue's Cloak" armor piece, which boosts your HP by 50 and is the single best early survivability item before you attempt the first boss, Captain Morgan, at Level 12—he hits for 40 damage per swing, so you need that HP buffer to survive his enrage phase below 30% health.
-
Accept every quest from the starter NPC before fighting anything.
-
Complete quests 1-3 to unlock the Combat Tutorial rewards.
-
Use the Sea Map unlock to mark the nearest leveling island.
-
Equip the Starter Katana and upgrade it once at the blacksmith.
-
Save all Capsules until you understand the gacha rates.
The blacksmith upgrade is non-negotiable because the Starter Katana at +1 doubles your effective damage against the Bandit Grunts that populate the first two islands. Players who skip this upgrade often struggle with the first mini-boss, the Sea King Spawn, which has a damage threshold that punishes under-geared characters. According to community testing, the upgrade costs roughly 500 Beli, which you earn from just three quest completions.
Control Setup Across PC, Mobile, and Console
Your platform determines how you should configure inputs before any serious combat. The Rogue Piece rebirth controls guide differs significantly between PC, mobile, and console because Roblox's input handling varies by device. Getting this right on day one prevents the dreaded mid-boss-fight fumble where you accidentally trigger your ultimate instead of dodging.
On PC, the default keybinds work reasonably well, but most veteran players rebind dash to Shift and lock-on to the middle mouse button. This frees your left hand for movement and ability rotation without stretching across the keyboard. The camera sensitivity should sit between 0.7 and 0.9 for most players, though higher settings help if you plan to focus on PvP later.
Mobile players face the toughest challenge because touch controls obscure part of the screen. The mobile guide consensus from the community walkthrough video suggests enabling fixed joystick mode and increasing the button opacity to 80% so you can see ability cooldowns clearly. Disable auto-targeting if you play melee builds, since it frequently locks onto the wrong enemy in crowded fights.
Console players on Xbox or PlayStation should prioritize controller dead zone adjustment and camera acceleration. The default acceleration curve feels sluggish during boss fights, and community data suggests setting it to 1.5x for snappier tracking. Here is a quick comparison table for reference:
| Setting | PC Recommendation | Mobile Recommendation | Console Recommendation |
|---|---|---|---|
| Dash Bind | Shift | Dedicated Dash Button | Right Bumper |
| Camera Sensitivity | 0.7-0.9 | 60-70% Slider | 1.2x Acceleration |
| Lock-On Toggle | Middle Mouse | On-Screen Toggle | Right Stick Click |
| Ability Bar Size | Default | 85% Scale | Default |
| Auto-Targeting | Disabled | Disabled for Melee | Disabled |
The settings guide also covers graphics optimization, which matters more than most new players realize. Lowering particle effects to medium reduces screen clutter during multi-enemy fights, while keeping texture quality high preserves visual clarity for reading enemy attack telegraphs. Players on older devices should disable shadow quality entirely, as it provides minimal gameplay benefit while consuming significant processing power.
Fast Travel Unlock and Island Progression Order
Dash-Cancel Movement: Cutting Travel Time Between Bandit Camps
Your dash has a hidden cancel window: pressing block (default Q) during the dash's final 0.2 seconds resets the cooldown 30% faster. On PC, bind dash to Shift and block to Q; on mobile, the cancel requires a double-tap of the dash button, which is less reliable—console players can map it to LB + RB simultaneously. Mastering this cuts the Island 1-to-2 boat trip from 45 seconds to 30 seconds. Over a 30-minute session, that saves roughly 5 minutes of pure travel, translating to an extra 6,000 XP.
Berry Budgeting: Skip the 2,500-Berry Sword on Day One
The blacksmith on Island 1 sells a 2,500-berry sword that deals 60 damage—tempting, but a trap. Your free starter sword, upgraded once at the Island 1 blacksmith for 500 berries, reaches 58 damage. The 2,000-berry difference is better spent on a Devil Fruit roll at the Island 2 merchant (1,500 berries) or saving for the 5,000-berry boat upgrade that unlocks Island 3 access. By skipping the sword, you retain enough berries to roll twice, giving a 12% chance per roll of pulling a Rare fruit like Gomu, which scales your damage far beyond any early weapon.
Fast travel transforms your play experience, but many players miss the unlock requirement entirely. You need to reach Level 15 and complete the Starter Island Questline to unlock the Teleport NPC on the main hub island. This NPC lets you jump between discovered islands for a small Beli fee, which scales based on distance and your current level.
The efficient island order follows the quest progression system rather than raw level requirements. Starting players should move from the Starter Island to Bandit Coast at level 10, then to Marine Base at level 20, and finally to Cursed Harbor at level 30. Each island introduces new enemy types that drop Island Tokens, which you exchange for gear upgrades and race unlock materials.
Your Sea Map marks discovered islands automatically, but you must physically visit each location once before fast travel becomes available. This creates a natural exploration loop where you sail to new territory, complete quests, and unlock permanent travel shortcuts. The starter island guide breaks down every location's level range and reward structure in detail.
The table below consolidates the fastest confirmed island-progression routes from community farming data, prioritizing Devil Fruit spawns and boss drops over raw level grinding. For example, players who skip the early Sky Island grind and head straight for Alabasta's Baroque Works agents report a 15–20% faster unlock of the Second Sea fast travel point, though they sacrifice the low-level stat boosts from early Marine base raids. Use the left column for your current Power level, then read right to see the next island to hit, the specific boss or NPC to farm, and the approximate time-to-next-unlock based on average drop rates.
| Island | Level Range | Key Reward | Fast Travel Cost |
|---|---|---|---|
| Starter Island | 1-10 | Sea Map Unlock | Free |
| Bandit Coast | 10-20 | Combat Mastery Scroll | 250 Beli |
| Marine Base | 20-30 | Gear Upgrade Token | 500 Beli |
| Cursed Harbor | 30-40 | Race Unlock Fragment | 1,000 Beli |
The fast travel fee increases with each island tier, so budget accordingly. Players who rush to Cursed Harbor without completing Marine Base quests often find themselves stranded without enough Beli to return, which forces a lengthy sail back. Always keep at least 1,500 Beli in reserve for emergency travel expenses.
Stat Allocation and Early Combat Builds
Your stat points determine combat effectiveness more than any single piece of gear, and the optimal allocation shifts based on your chosen playstyle. The Strength stat boosts melee damage and health, while Agility improves movement speed and dash distance. Devil Fruit Power enhances ability damage but offers no defensive benefit, making it a risky early investment.
For the first 30 levels, community consensus strongly favors a balanced Strength and Agility split. This approach keeps you durable enough for boss fights while maintaining the mobility needed to avoid telegraphed attacks. Players who dump everything into Devil Fruit Power often struggle with the Sea King Spawn because their low health pool means any single hit removes half their HP.
The Combat Mastery Scroll from Bandit Coast resets your stat allocation once, so you can experiment without permanent consequences. Save this reset until you reach level 30 and have a clearer picture of your preferred combat style. The beginner guide covers stat allocation strategies in greater depth, including the trade-offs between glass-cannon and tank builds.
Your early combat rotation should focus on dash attacks to close distance, followed by two light attacks and a heavy finisher. This combo staggers most regular enemies while consuming minimal stamina. Against bosses, the pattern shifts to dash-in, heavy attack, dash-out to punish openings without committing to extended combos that leave you vulnerable.
Currency Management and What to Skip on Day One
Beli and Capsules represent your two main currencies, and both tempt new players into wasteful spending. The Capsule system offers devil fruits and character unlocks, but the drop rates for rare items remain low according to community data. Spending all your early Capsules on random rolls typically yields common fruits that you will replace within ten levels.
The smarter approach involves saving Capsules until you reach Level 25, when the Fruit Merchant unlocks a targeted purchase option. This lets you buy specific fruit types with a guaranteed minimum rarity, eliminating the randomness that frustrates so many new players. The rank guide explains how ranking up increases your Capsule earnings rate, making patience more rewarding.
Beli spending follows a clearer priority order: unlock your second fighting style slot first (1,500 Beli) before touching cosmetics, because it directly doubles your combo potential against early NPCs like the Bandit Leaders near Shells Town. Next, bank 2,000 Beli for the basic Haki unlock at level 10, then save 5,000 for your first ship upgrade — skipping the 800 Beli emote packs entirely, since they offer zero stat or progression value.
-
Blacksmith upgrades for your weapon (highest priority).
-
Stat resets when you misallocate points.
-
Fast travel fees to maintain progression momentum.
-
Armor upgrades only after weapon upgrades reach +3.
-
Capsule purchases only from the targeted merchant.
Avoid spending Beli on cosmetic items or emotes during your first session, as these provide zero combat benefit. The AFK farming spots on Bandit Coast generate roughly 2,000 Beli per hour while you are offline, which makes early cosmetic purchases feel especially wasteful once you realize how quickly that currency could have upgraded your gear.
Frequently Asked Questions
What is the fastest way to level up in Rogue Piece Rebirth?
Quest progression remains the fastest leveling method, especially during the first 30 levels. Each main quest grants bonus XP that scales with your current level, while repeatable bandit kills offer roughly half the experience per minute. Focus on completing every quest on an island before moving to the next location.
Should I spend Capsules immediately or save them?
Save your Capsules until level 25, when the targeted Fruit Merchant becomes available. Random rolls have low drop rates for rare items based on community testing, while the merchant guarantees a minimum rarity tier. This approach maximizes the value of every Capsule you earn during the early game.
What controls should I change first on mobile?
Enable fixed joystick mode and increase button opacity to 80 percent for better visibility. Disable auto-targeting if you play melee builds, since it often locks onto the wrong enemy. Adjust camera sensitivity to around 65 percent for a balance between precision and responsiveness.
How do I unlock fast travel between islands?
Reach level 15 and complete the Starter Island Questline to unlock the Teleport NPC on the main hub island. You must physically visit each island once before fast travel becomes available. Keep at least 1,500 Beli in reserve for emergency travel expenses.
What stat allocation works best for beginners?
A balanced 60/40 split favoring Strength works best for beginners—it lets you survive Bandit Coast boss fights while keeping enough Agility to dodge telegraphed attacks. Don't spend stat points past level 30 until you've unlocked the free respec via the Combat Mastery Scroll, since early fruits favor different builds.